Introduction
Slow-motion effects are a powerful tool in video editing, allowing creators to enhance the storytelling, emphasize key moments, and add a touch of artistic flair to their YouTube videos. Whether you’re aiming to highlight a dramatic scene, showcase intricate movements, or simply add visual interest, mastering slow-motion techniques can significantly elevate the quality of your content.
Why Use Slow-Motion Effects?
Enhancing Storytelling
Slow-motion can intensify the emotional impact of a scene, making moments more memorable and engaging for the audience. By controlling the pacing, you can draw viewers’ attention to specific actions or reactions, enriching the narrative of your video.
Emphasizing Key Moments
Highlighting critical events or actions through slow-motion ensures that viewers don’t miss important details. This is particularly useful in action sequences, tutorials, or demonstrations where precision and focus are essential.
Adding Artistic Flair
Incorporating slow-motion effects can add a cinematic quality to your videos, making them more visually appealing and professional. It allows for creative expression, enabling you to experiment with different styles and techniques to suit your unique vision.
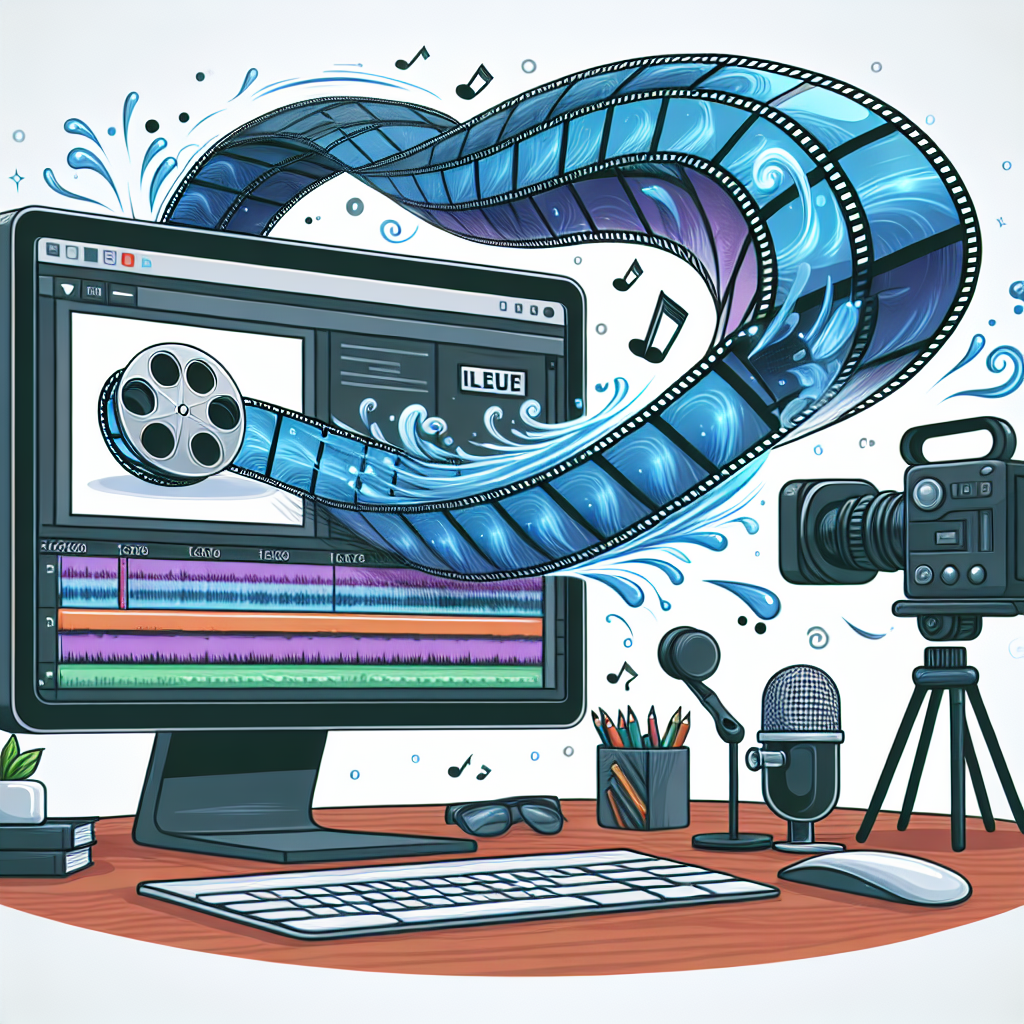
Tools and Software for Creating Slow-Motion Effects
Video Editing Software
There are numerous video editing software options available that offer slow-motion capabilities:
- Adobe Premiere Pro: A professional-grade editor with advanced slow-motion features.
- Final Cut Pro: Apple’s robust editing software with intuitive slow-motion tools.
- DaVinci Resolve: A free option that doesn’t compromise on slow-motion functionalities.
- iMovie: A user-friendly choice for Mac users looking to add slow-motion effects.
Smartphone Apps
If you prefer editing on your mobile device, several apps provide excellent slow-motion editing tools:
- InShot: Offers easy-to-use slow-motion features along with other editing tools.
- KineMaster: A powerful mobile editor with precise slow-motion controls.
- Slow Motion Video FX: Specifically designed for creating slow-motion effects.
Step-by-Step Guide to Creating Slow-Motion Effects
1. Recording Footage at Higher Frame Rates
To achieve smooth slow-motion, it’s essential to record your footage at a higher frame rate (e.g., 60fps or 120fps). Higher frame rates capture more frames per second, allowing for more fluid slow-motion playback.
2. Importing Video into Editing Software
Begin by importing your high frame rate footage into your chosen video editing software. Ensure that the project settings match the resolution and frame rate of your footage for optimal quality.
3. Applying Slow-Motion Effects
Select the video clip you wish to slow down and apply the slow-motion effect using the software’s built-in tools. This typically involves adjusting the playback speed to a lower percentage (e.g., 50% for half speed).
4. Adjusting Speed and Smoothness
Fine-tune the speed settings to achieve the desired slow-motion effect. Some software offers frame interpolation or optical flow features to enhance smoothness and reduce motion artifacts.
5. Adding Transitions and Effects
Enhance your slow-motion clips by adding transitions, color grading, or other effects. This can help blend slow-motion segments seamlessly into the rest of your video and maintain visual consistency.
6. Exporting the Final Video
Once satisfied with your slow-motion effects, export your video in the appropriate format and resolution for YouTube. Ensure that the export settings preserve the quality of your slow-motion segments.
Tips for Effective Slow-Motion
- Choose the Right Moments: Use slow-motion selectively to highlight significant actions or emotions.
- Maintain Video Quality: Record at high frame rates and ensure proper lighting to avoid graininess in slow-motion footage.
- Synchronize with Audio: Match slow-motion segments with background music or sound effects to enhance the overall impact.
- Avoid Overuse: Excessive use of slow-motion can diminish its effectiveness. Use it strategically to maintain viewer engagement.
Common Mistakes to Avoid
- Using Too Slow a Speed: Slowing footage excessively can result in choppy motion. Find a balance that maintains smoothness.
- Poor Frame Rate: Low frame rate recordings can lead to stuttering slow-motion effects. Always record at the highest feasible frame rate.
- Inconsistent Application: Applying slow-motion randomly can disrupt the flow of your video. Plan where and how to use it for maximum effect.
Advanced Techniques
Combining Slow-Motion with Reverse Effects
Integrate reverse playback with slow-motion to create unique and dynamic visual sequences. This technique can add intrigue and complexity to your storytelling.
Layering Slow-Motion Clips
Layer multiple slow-motion clips with varying speeds to add depth and texture to your video. This approach can enhance the visual richness and creativity of your content.
Color Grading to Enhance Mood
Use color grading to complement slow-motion effects, setting the tone and mood of your video. Adjusting colors can emphasize the emotional undertones of slow-motion scenes.
Conclusion
Creating slow-motion effects for YouTube videos is a valuable skill that can elevate the production quality and viewer experience. By understanding the tools, techniques, and best practices, you can effectively incorporate slow-motion into your content, making your videos more engaging and visually appealing. Experiment with different approaches and continually refine your skills to master the art of slow-motion video editing.
Leave a Reply